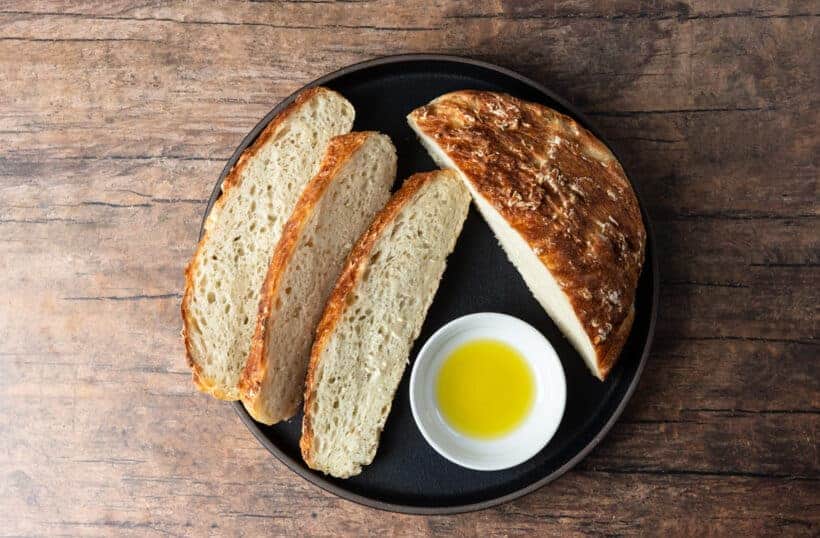
Baking artisanal bread at home can seem like a daunting task, but it’s a rewarding process that brings the comforting scent of freshly baked bread into your kitchen. Artisanal bread is all about simplicity, quality ingredients, and time. Unlike mass-produced loaves, it’s the slow fermentation process that gives artisanal bread its distinct flavor and chewy, rustic texture. Whether you’re a seasoned baker or a beginner, this guide will walk you through the steps to create your own perfect loaf.
1. Start with the Right Ingredients
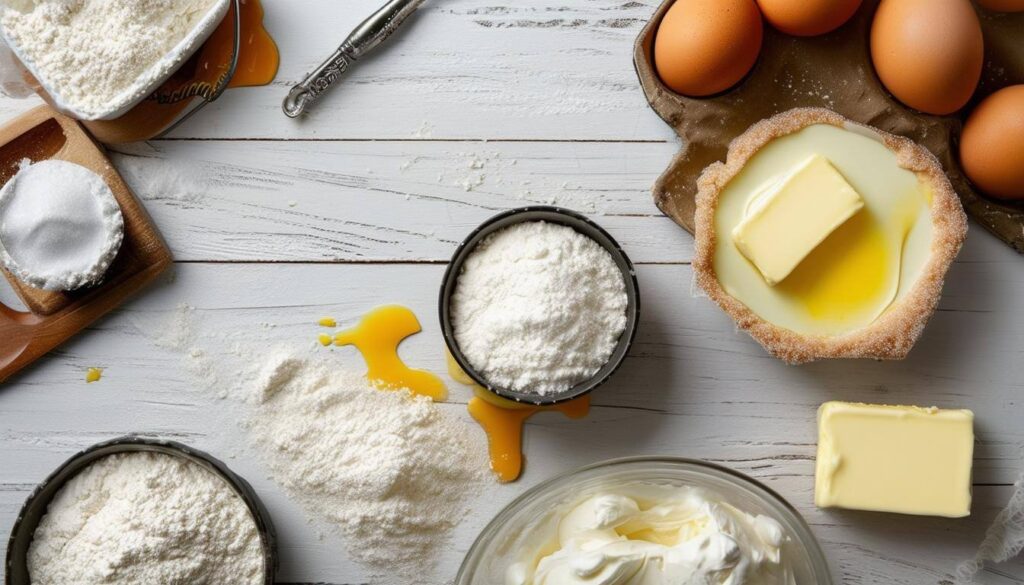
For artisanal bread, you don’t need a lot of fancy ingredients, just high-quality basics. Here’s what you’ll need:
- Flour: The foundation of any bread. Bread flour, which has a higher protein content than all-purpose flour, is ideal because it helps create the chewy texture we love in artisanal bread. You can also experiment with whole wheat, rye, or even spelt for more complex flavors.
- Water: Water is essential for activating the yeast and hydrating the flour. Use filtered water if your tap water is heavily chlorinated, as it can affect the yeast’s ability to grow.
- Yeast: Most artisanal bread recipes call for either active dry yeast or instant yeast. Some recipes even use a sourdough starter, which brings even more flavor and character to the bread.
- Salt: Salt is not just for flavor—it controls yeast growth and strengthens the dough.
- Optional Add-ins: You can add things like honey, olive oil, herbs, or seeds for flavor and texture.
2. Make the Dough
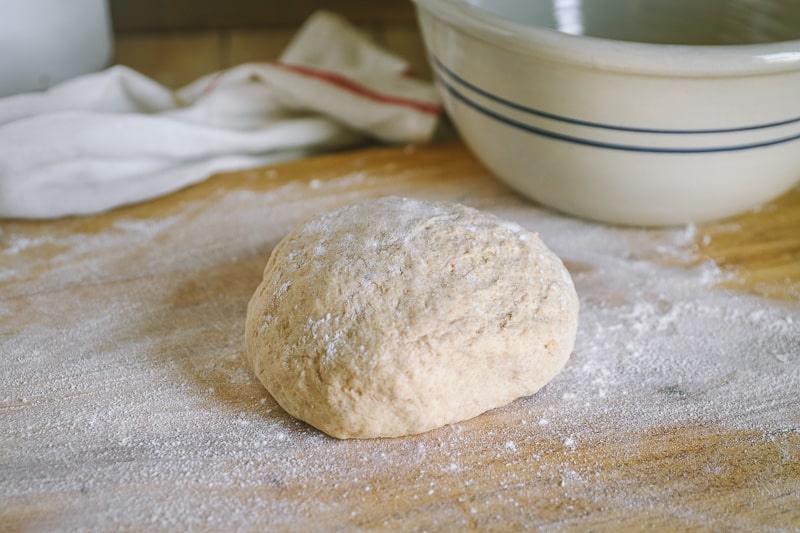
The first step in baking artisanal bread is to mix your ingredients to form a dough. Start by combining the flour, yeast, and salt in a large bowl. Then, slowly add water and stir until it forms a sticky dough. You may need to adjust the water or flour depending on your environment—dough should be tacky but not too wet.
Once the dough is mixed, knead it. This is where the magic happens. Kneading helps develop gluten, the protein in flour that gives bread its structure. You can knead the dough by hand or with a stand mixer fitted with a dough hook. Knead for about 8-10 minutes until the dough is smooth and elastic. If it’s too sticky, add a little more flour; if it’s too dry, add a splash more water.
3. The First Rise: Let the Dough Rest
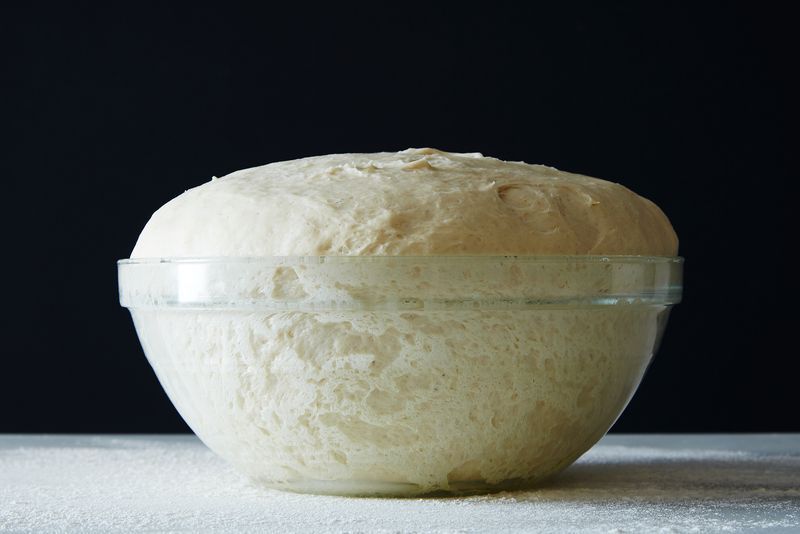
Now comes the waiting part. Artisanal bread is all about the slow fermentation process that develops deep flavors. After kneading, place the dough in a lightly oiled bowl and cover it with a damp cloth or plastic wrap. Let the dough rise for about 1-2 hours, or until it has doubled in size. The longer you let it rise, the more complex the flavor will be, so feel free to let it rest for a bit longer if you have the time.
4. Shape the Dough
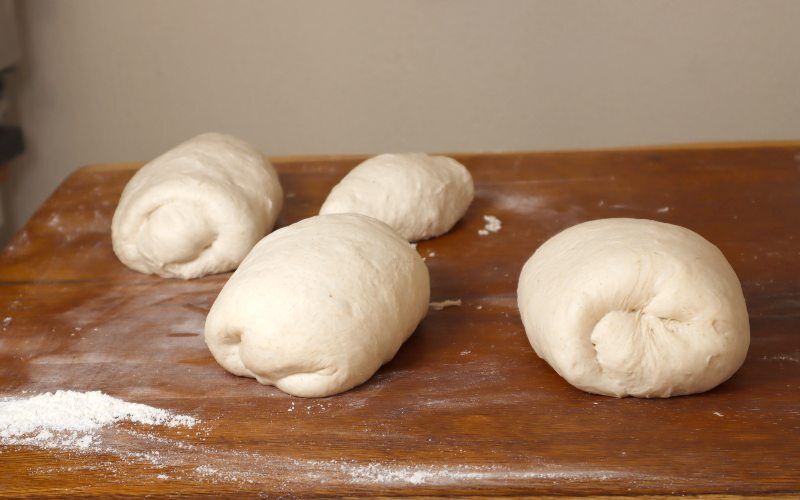
After the dough has risen, it’s time to shape it into a loaf. Turn the dough out onto a lightly floured surface and gently deflate it by pressing it down. Then, fold the dough over itself a few times to form a smooth, round shape or an oblong loaf, depending on your preference. If you’re making a round boule, you can shape it into a tight ball. For a more traditional oval-shaped loaf, gently stretch the dough into an elongated shape.
Once shaped, place the dough onto a baking sheet or into a proofing basket if you have one. Cover the dough and let it rise for another 1-2 hours until it has puffed up again.
5. Preheat Your Oven
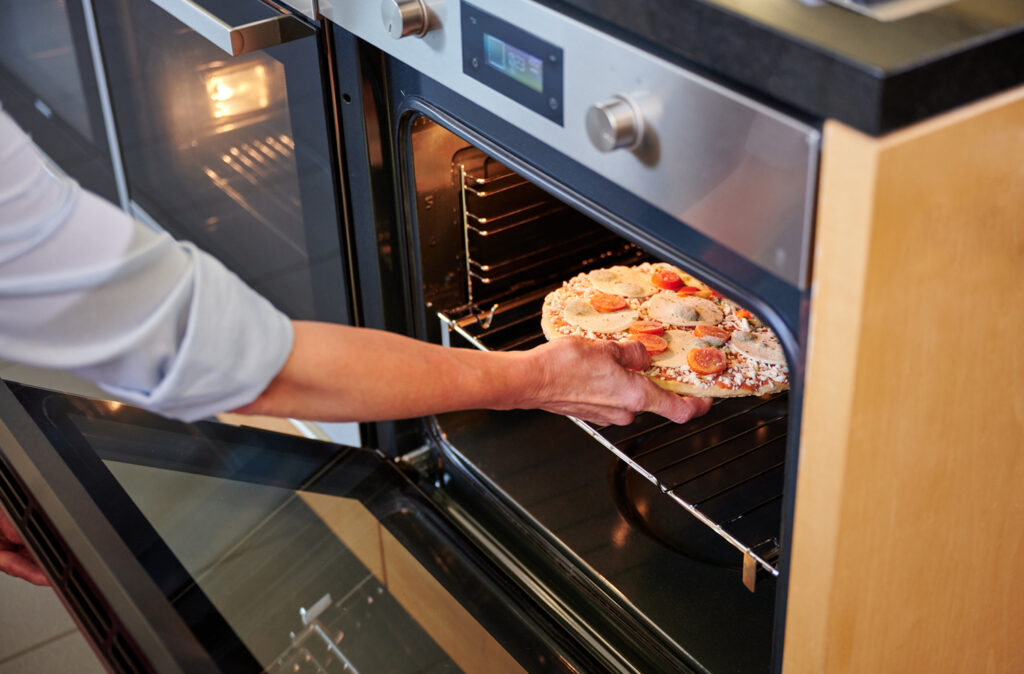
While your dough is undergoing its second rise, preheat your oven to 450°F (230°C). If you have a pizza stone, place it in the oven while it preheats for a nice, crisp crust. Alternatively, you can use a Dutch oven for a more traditional baking method, which helps trap steam and creates a soft, airy interior with a crunchy crust.
6. Score and Bake
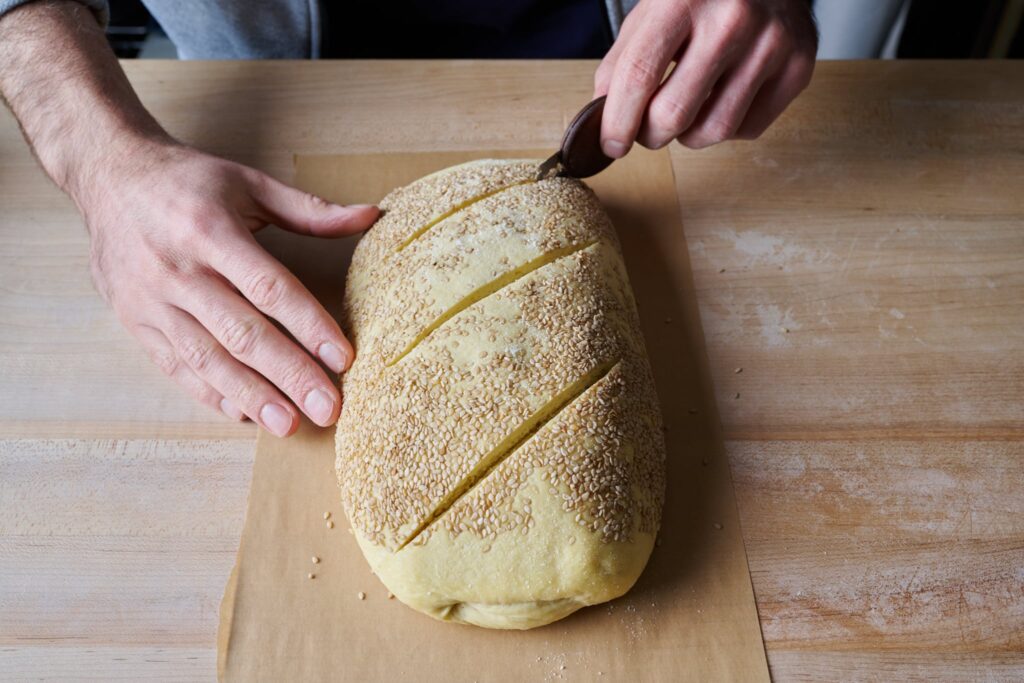
Before baking, score the top of your loaf with a sharp knife or bread lame. This creates slashes that allow the bread to expand while baking. Scoring also adds a rustic look to your loaf, which is a hallmark of artisanal bread.
Transfer your dough into the preheated oven, placing it directly on the pizza stone or into the Dutch oven. Bake for 25-30 minutes or until the crust is golden brown and the loaf sounds hollow when tapped on the bottom. If you’re using a Dutch oven, you can cover it for the first 20 minutes to keep the steam trapped inside and then remove the lid for the final 10 minutes to crisp up the crust.
7. Let It Cool
Once your bread is baked, remove it from the oven and let it cool on a wire rack. This allows the steam inside to escape, preventing the bread from becoming soggy. It’s tempting to cut into the loaf right away, but resist the urge! Let it cool for at least 30 minutes to get the perfect texture.
Final Tips:
- Patience is key: Artisanal bread is all about time. The slow rise and fermentation give the bread its flavor, so don’t rush the process.
- Experiment: Try adding different flours, herbs, or even seeds to your dough for variety.
- Storage: Store your bread at room temperature in a paper bag or a bread box to keep the crust crisp.

